
WordPressブログにて、Googleマップを埋め込む方法をご紹介します。
手順

googleにて、埋め込みたい建物を検索します。
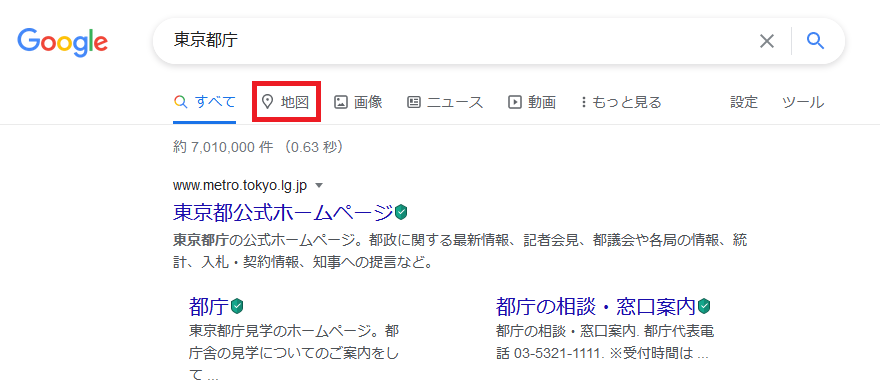
「地図」のタブを選択します。
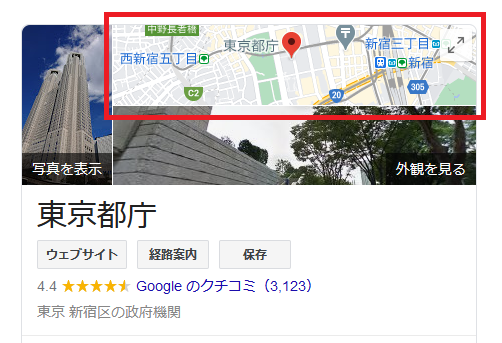
もしくは地図の画像をクリックでもOKです。
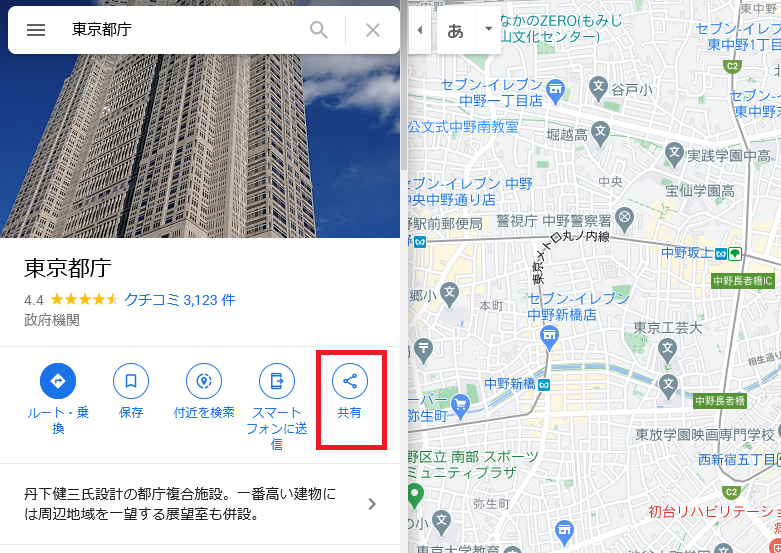
「共有」をクリックします。
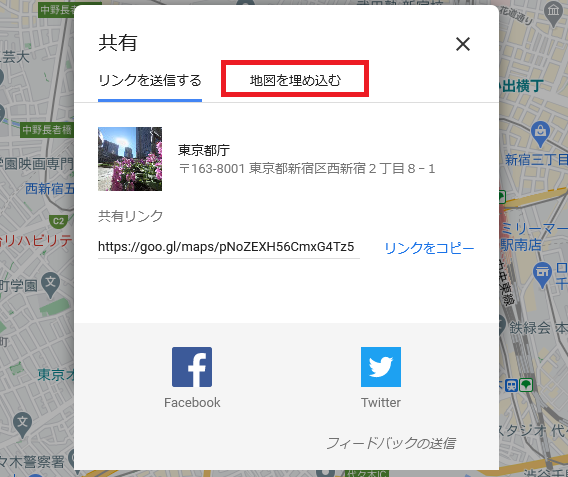
「地図を埋め込む」をクリックします。
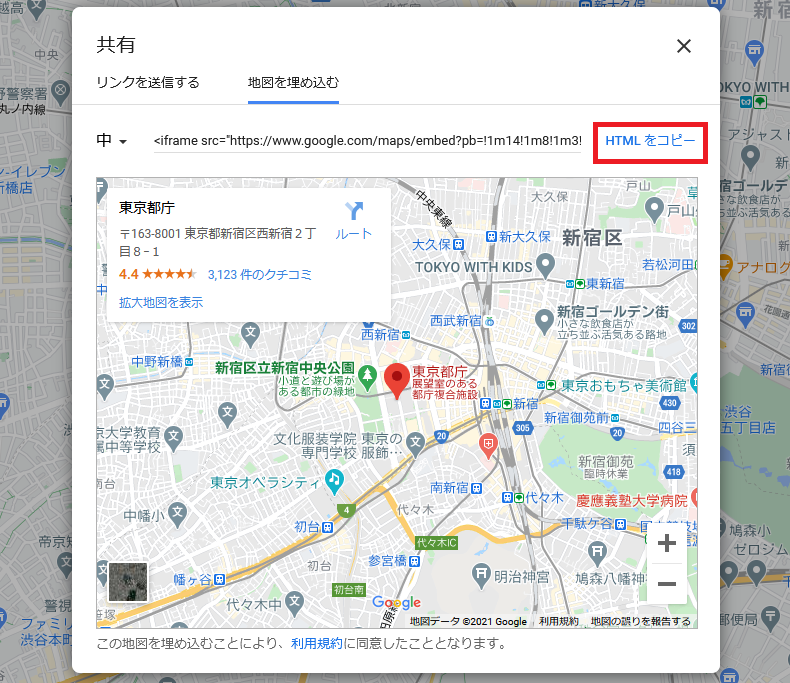
「HTMLをコピー」をクリックすると、クリップボードにコピーされます。
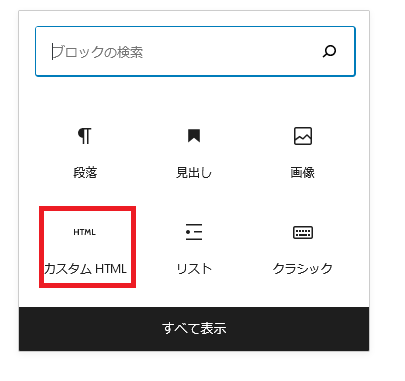
WordPressの記事投稿画面にて「カスタムHTML」を選択し、先ほどコピーしたHTMLを貼り付けます。
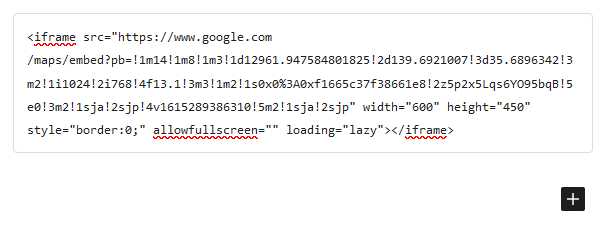
デフォルトでは「width=”600″ height=”450″」のサイズになっていますので、この数字部分を変更することで自分の好きなサイズに変更が可能です。width=横幅、height=高さとなります。
width=100%とすることで、横幅いっぱいに表示されます。
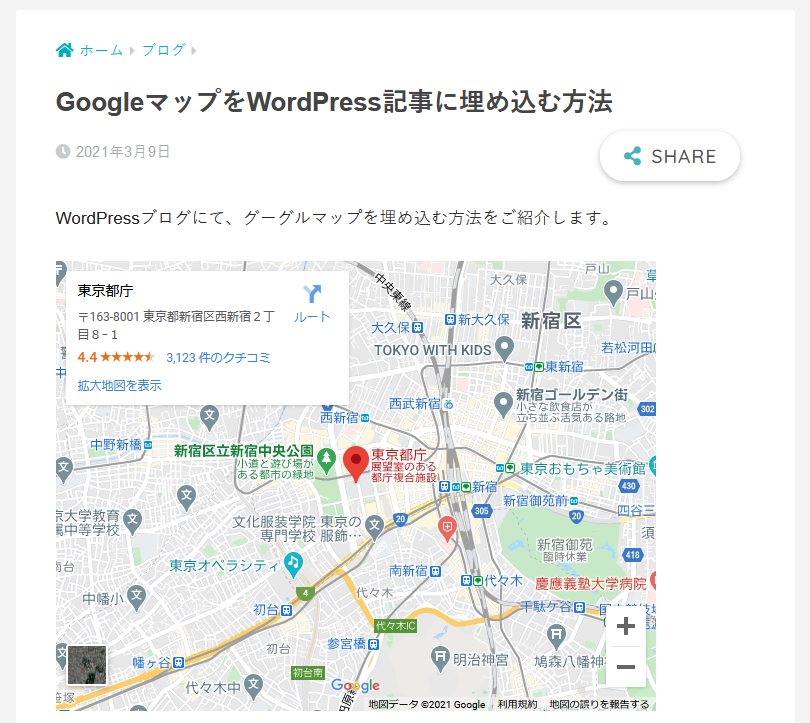
プレビュー画面にて確認してみると、地図が表示されました。